


05 Jul Pre-Demolition Walkthrough: How Contractors Evaluate Your Home
What to Expect During a Pre-Demolition Walkthrough
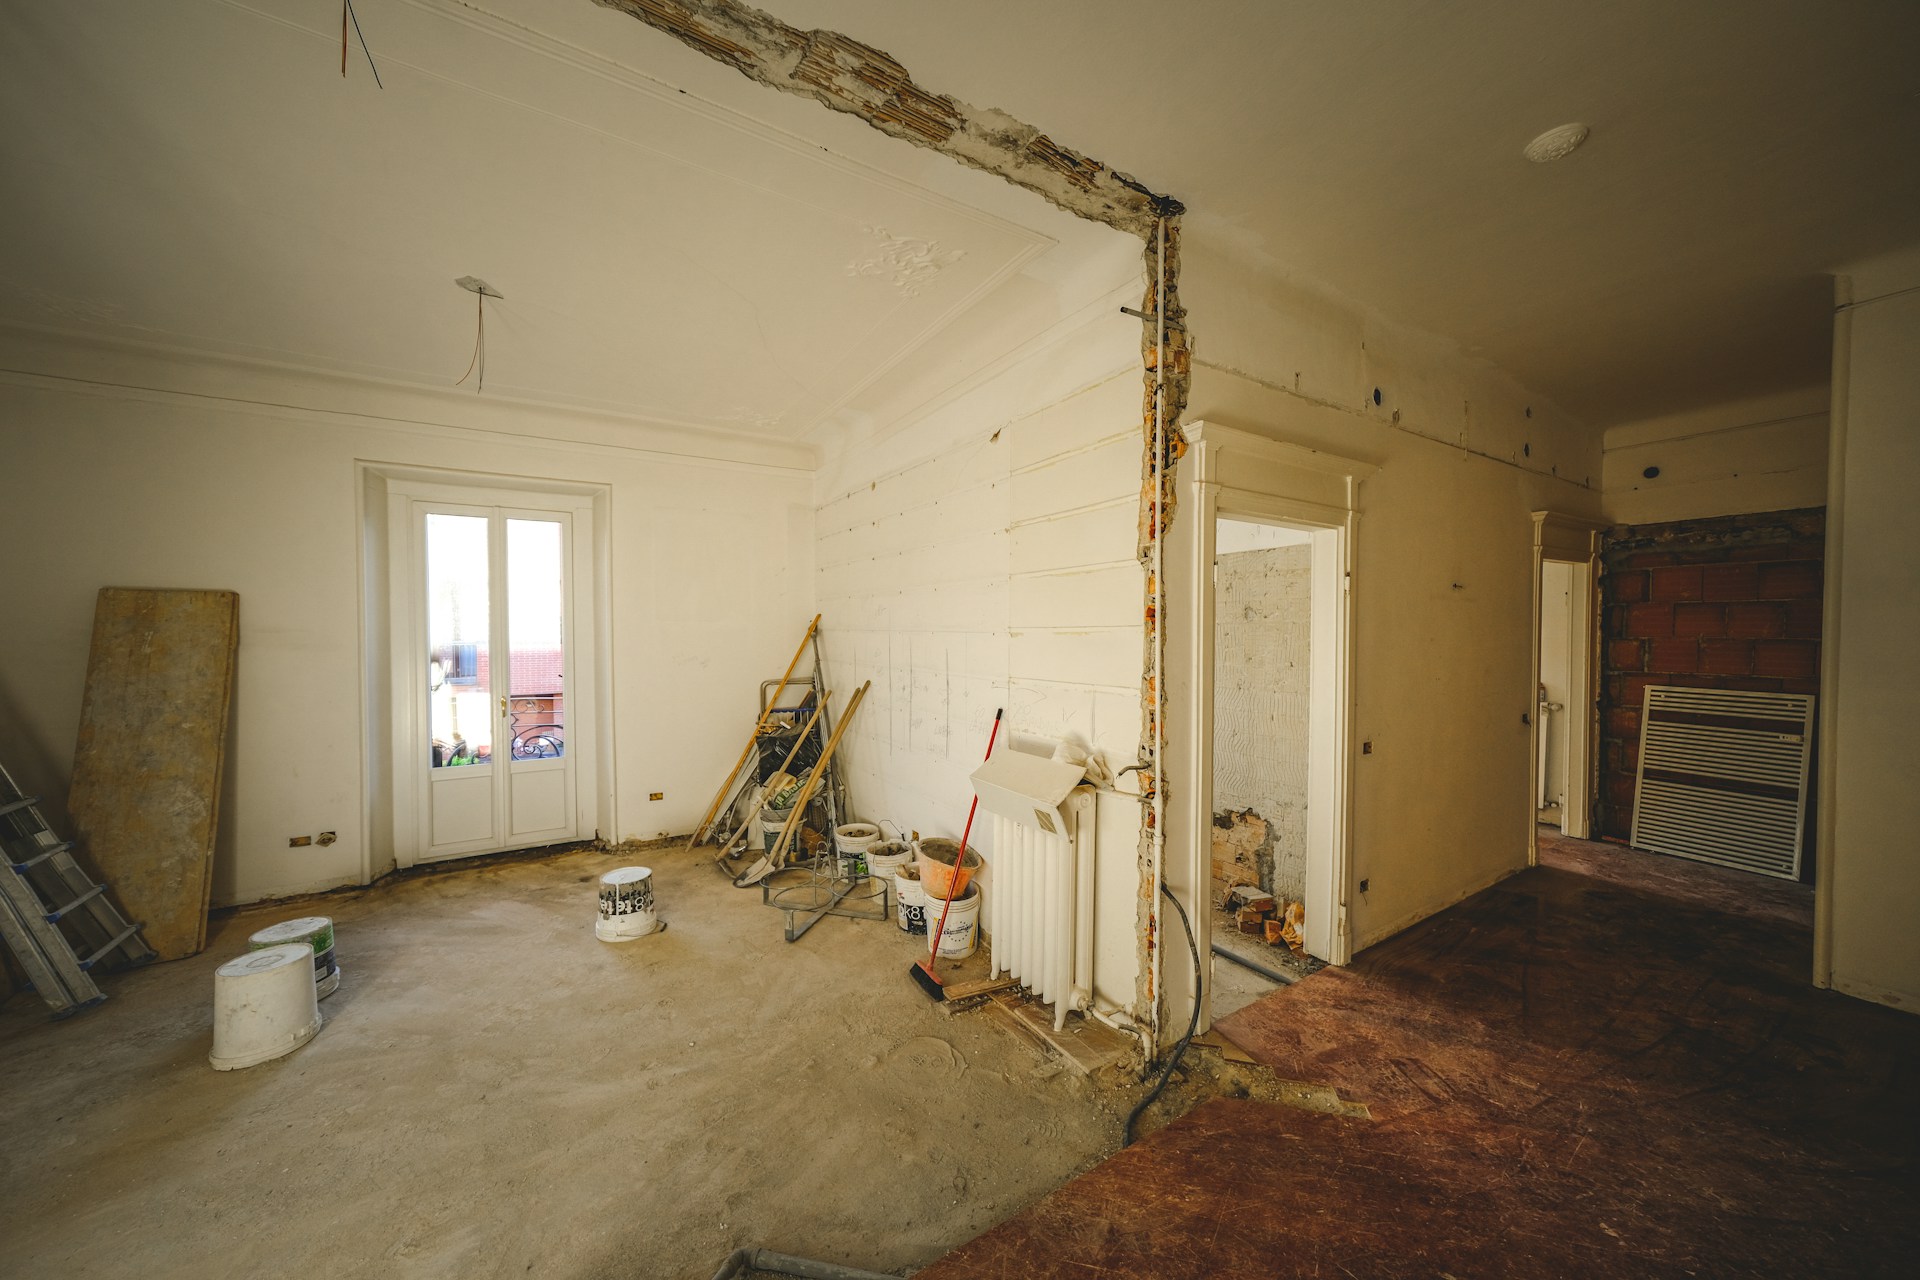
A safe, clean demolition of residential buildings always starts before the first wall comes down. It starts with a careful walkthrough of your home and property. That visit is where we learn how your house is put together, what needs to be protected, and what could slow the job down if we do not plan ahead.
When a pre-demolition walkthrough is done the right way, you get fewer surprises, clearer pricing, and a smoother permit process. It also helps keep nearby homes, sidewalks, and shared driveways safe. In areas like Westchester, Putnam, and Dutchess, we see a lot of older homes, add-ons, and finished basements, so that local experience matters when we step through your front door.
Many people choose to start demolition work in summer when the weather is better and kids are out of school. That makes planning even more important, because neighbors are outside more and yards get a lot of use. A solid walkthrough keeps all of that in mind and sets you up for a stress-free project.
First Look at Your Home’s Structure and Site Conditions
We usually start outside. We walk the property, look at the building from all sides, and pay attention to how your home sits on the lot. We look at the foundation, rooflines, porches, decks, and any additions to see how everything ties together.
Typical things we check include:
- Foundation walls for cracks, bowing, or signs of past repairs
- Roof shape and sagging areas that could show hidden damage
- Porches, decks, and stairs that might be connected in tricky ways
- Exterior materials, like siding, brick, or stone, that affect how we remove sections
Inside, we do a visual review of framing, walls, ceilings, and floors. We are looking for load-bearing walls, signs of settling, and places where the structure changed over time. Older homes often have DIY work or past remodels that do not match the original plans, so we pay close attention to those areas.
We also have to think about logistics. We look at:
- Driveway width and turning space for trucks and dumpsters
- Overhead wires, low tree branches, and tight side yards
- Shared driveways or close neighbors that limit where we can stage equipment
- Safe paths in and out for our crew and for debris removal
Any risk flags we see, such as water damage, leaning chimneys, or old patches, will shape our plan. From this first look, we decide if demolition will be more manual or more mechanical, how many days it will likely take, how loud it may be, and how much dust control we will need. That means you get more accurate timing and better expectations from the start.
Structural Assessment for a Safe and Controlled Tear-Down
Once we have a general feel for the house, we focus on the structure itself. Our job is to understand how weight travels from the roof down to the foundation. That helps us plan the order of demolition so that each piece comes down safely and in control.
We review:
- Load-bearing walls, beams, and posts
- Shear walls or braced walls that keep the house from racking in the wind
- How floors and roof framing sit on beams and walls below
If we see rot, termite damage, rusted steel, or weak foundation sections, that changes how we work. A damaged area might need extra bracing or slower, partial deconstruction by hand. We never want a surprise collapse or unintended damage to the part of the home you plan to keep.
Selective demolition is common with kitchens, bathrooms, basements, and garages. In those cases, we plan how to remove what you do not want while still supporting the rest of the structure. That might include temporary shoring or special sequencing so the remaining space stays stable and usable.
For complex layouts, older homes, or tricky additions, we may coordinate with an engineer or local building department. In our area, many towns have specific rules for structural changes, especially with older housing stock. That teamwork during the planning phase helps the project move forward more smoothly once work begins.
Hazardous Materials Testing and Utility Tracing
Before demolition of residential buildings starts, we need to know what is inside the walls and finishes. Some homes have hazardous materials that must be tested and handled by licensed specialists.
Common issues we watch for include:
- Asbestos in floor tiles, pipe wrap, old siding, or joint compound
- Lead-based paint on trim, windows, and older siding
- Mold in damp basements, bathrooms, or areas with past leaks
- Older insulation that may need special handling
When needed, samples are taken and sent to a lab. This is not something to skip. Federal rules, workplace safety standards, and New York State regulations control how these materials are identified, removed, and disposed of. If hazards are found after demolition starts, work can be stopped until things are handled the right way, which can delay the whole project.
At the same time, we trace and confirm all utilities. We review:
- Electric service, panels, and any subpanels
- Gas lines to appliances, fireplaces, and outdoor grills
- Water, sewer, and any septic or sump systems
- Oil tanks or fuel lines, if present
We confirm shutoffs with the proper providers and mark out any underground lines so we do not hit them while digging or moving heavy equipment. In summer, when more kids are outside and yards are busy, this step also includes planning fencing and barriers so play areas stay away from work zones.
Protection Plan, Debris Strategy, and Final Scope Confirmation
A big part of the walkthrough is about what we are not demolishing. We talk through what matters most to you, like landscaping, driveways, nearby fences, and any part of the building that will stay.
Typical protection steps might include:
- Plywood or protective mats on driveways and walkways
- Temporary walls or plastic sheeting for dust control
- Padding or barriers near neighboring houses or shared fences
- Floor and stair protection inside if we are working in finished areas
We also plan how debris will be handled. That includes:
- Estimating how much material will come out
- Choosing dumpster sizes and where they can safely sit
- Planning for multiple hauls if the schedule is tight or the site is small
- Coordinating junk removal and clean-outs so the home is empty before heavy work
Before we leave, we walk room by room and area by area to confirm exactly what is being removed and what stays. We talk through any add-ons like garages, sheds, decks, or pools. We also explain how changes will be handled if you decide to adjust the plan later.
To keep everyone on the same page, we set clear expectations about start dates, daily work hours, and the expected completion window. We explain our cleanup standards and how we document conditions before and after, often with photos or video, so there is a clear record of the work.
FAQs About Pre-Demolition Walkthroughs and Residential Demolition
How does a pre-demolition walkthrough work for the demolition of residential buildings?
On walkthrough day, one of our team members meets you at the property. We start outside, review access and neighbors, then move inside and look at each area tied to the project. We take notes and photos, talk through your plans, and flag anything that needs follow-up, like testing or engineering. Most walkthroughs take anywhere from about half an hour to a couple of hours, depending on the size and complexity of the home. It helps if at least one decision-maker is present to answer questions and give feedback.
Do I need hazardous materials testing before demolition of my home?
Testing is often required when a home was built or remodeled during certain time periods or when we see materials that commonly contain asbestos or lead. A qualified inspector or environmental professional takes samples and sends them to a lab. Turnaround can vary, so we always try to build that into the schedule. The results can affect how we phase the work and how materials are removed, which is why it is better to handle testing before demolition starts.
How do demolition contractors protect my property and my neighbors’ homes?
We combine dust control, debris management, and site protection. That can include water misting to keep dust down, controlled drop zones for debris, and covering or shielding nearby areas. We use fencing, cones, and signs to mark off work limits. In warm weather, when more people are outside, we pay extra attention to safe paths, clear markings, and communication with neighbors.
What should I do before the demolition contractor arrives for the walkthrough?
You can help by:
- Clearing access to basements, attics, and utility areas
- Gathering any drawings, past permits, or inspection reports
- Making a simple list of your goals for the project
- Noting any issues you already know about, like leaks, cracks, or old repairs
How is pricing for demolition of residential buildings finalized after the walkthrough?
The walkthrough gives us the real details we need to build a clear estimate. Structural conditions, possible hazardous materials, and utility needs all shape the final scope. Once we review our notes, we put together a written proposal that explains what is included and how the work will be carried out. That way you can move forward knowing there is a solid plan behind the numbers.
Get Started With Your Project Today
If you are planning demolition of residential buildings, our team at Demolition Experts NY is ready to handle every step safely and efficiently. We work closely with you to understand your timeline, budget, and site requirements so the job is completed with minimal disruption. Reach out today through our contact page to request a quote or schedule a consultation.

No Comments